



كيف تختار صورة إضاءة للتصوير | محتوى احترافي
تأجير المعدات
تعتمد قوة أي لقطة على كيفية توظيف الضوء؛ فالبحث عن صورة إضاءة للتصوير مثالية يمثل الخطوة الأولى والأساسية لكل صانع محتوى أو مصور يبحث عن تقديم جودة بصرية تبهر الجمهور وتجذب الخوارزميات.
كيف أستخدم إضاءة التصوير؟
استخدام إضاءة التصوير لا يعني توجيه الضوء بشكل عشوائي نحو الهدف، بل يتطلب اتباع تكنيك توزيع ذكي. للحصول على صورة إضاءة للتصوير سينمائية، الطريقة الأكثر احترافية وشيوعاً هي توزيع الإضاءة الثلاثي (Three-Point Lighting):
الضوء الأساسي (Key Light):
أقوى ضوء في الاستوديو، يوضع بزاوية 45 من الهدف، ومهمته إضاءة الجانب الأكبر من الوجه أو المنتج.
ضوء ملء الفراغ (Fill Light):
ضوء أقل حدة يوضع في الجانب المقابل للضوء الأساسي، ووظيفته تقليل الظلال القاسية الناتجة عنه.
الضوء الخلفي (Backlight / Rim Light):
يوضع خلف الهدف لعزله عن الخلفية وخلق عمق بصري يمنح الصورة بعداً ثلاثياً احترافياً.
ما هي افضل إضاءة للتصوير بالجوال؟
مع تطور كاميرات الهواتف الذكية، أصبحت جودة الفيديو تعتمد بنسبة 80% على الإضاءة الخارجية، إذا كنت تصوّر بجوالك، فإليك أفضل الخيارات للحصول على أفضل صورة إضاءة للتصوير:
حلقات الإضاءة (Ring Lights):
الخيار المفضل لصناع محتوى التيك توك واليوتيوب، تمنحك إضاءة متساوية حول الوجه مع تأثير دائري مميز داخل العين.
إضاءة الـ LED المحمولة (Pocket LED Panels):
قطع صغيرة تُثبت فوق الجوال مباشرة، ممتازة للتصوير الخارجي و الفلوقات (Vlogs) لسهولة حركتها وقوة سطوعها.
الإضاءة الطبيعية:
أفضل وأرخص طريقة لإنتاج صورة إضاءة للتصوير بالجوال هي الوقوف أمام نافذة مفتوحة خلال "الساعة الذهبية" (بعد الشروق أو قبل الغروب).
ما هي أفضل لمبة إضاءة للتصوير؟
عند النزول إلى السوق لشراء لمبات لتجهيز الاستوديو الخاص بك، تذكر أن اختيار لمبة ممتازة سيساعدك على تشكيل أجمل صورة إضاءة للتصوير، ابتعد تماماً عن اللمبات المنزلية العادية، وأفضل المواصفات التي يجب أن تبحث عنها هي:
- لمبات الـ LED بقدرة عالية (High CRI): ابحث عن لمبات بمعيار CRI (مؤشر رندرة الألوان) أعلى من 95. هذا يضمن أن تظهر ألوان الملابس أو المنتجات في الصورة مطابقة للحقيقة تماماً دون تشويه.
- لمبات فلورسنت خماسية النطاق (CFL): تعطي إضاءة ناعمة وباردة ولا تصدر حرارة مزعجة أثناء جلسات التصوير الطويلة.
ما هي أفضل إضاءة مريحة للعين؟
جلسات التصوير والمونتاج الطويلة قد تسبب إجهاداً كبيراً للعين، للحفاظ على سلامة نظرك والحصول على كادر مريح للرؤية والكاميرا:
- درجة حرارة اللون (Color Temperature): اختر إضاءة تقع في النطاق المحايد بين 4000 إلى 5000 كلفن (Kelvin). الإضاءة الصفراء جداً أو الزرقاء جداً ترهق العين سريعاً.
- استخدام مشتتات الضوء (Diffusers / Softboxes): الضوء المباشر الحاد (Hard Light) يجهد العين ويخلق ظلالاً مزعجة. تمرير الضوء عبر قماش سوفت بوكس يحوله إلى ضوء ناعم (Soft Light) مريح للعين وللكاميرا على حد سواء.
أدوات تعديل وتوجيه الضوء
لا يكفي شراء منبع ضوئي قوي فحسب، بل يجب التحكم في مساره وشكله ليخدم الفكرة الإبداعية لخلق صورة إضاءة للتصوير فريدة:
- المظلات : أداة اقتصادية ممتازة لتشتيت الضوء على مساحة واسعة، وهي مثالية لتصوير المجموعات أو لقطات الأزياء الكاملة.
- العاكس : لوح مرن يأتي بألوان (أبيض، فضي، ذهبي). يُستخدم ليعكس الضوء الساقط من المصدر الأساسي وتوجيهه للأماكن المظلمة لتقليل الظلال بدون الحاجة لشراء كشاف إضافي.
- شبكات التوجيه : شبكة تشبه خلايا النحل تُركب على السوفت بوكس لمنع تشتت الضوء يميناً ويساراً، وتركيزه فقط على الهدف لإنشاء تأثير درامي غامض.
أفضل إعداد إضاءة لتصوير المنتجات والمقابلات التجارية
عند العمل في المشاريع التجارية، يختلف توزيع الضوء بناءً على نوع المحتوى لضمان أدق صورة إضاءة للتصوير:
- في تصوير المنتجات (E-commerce):
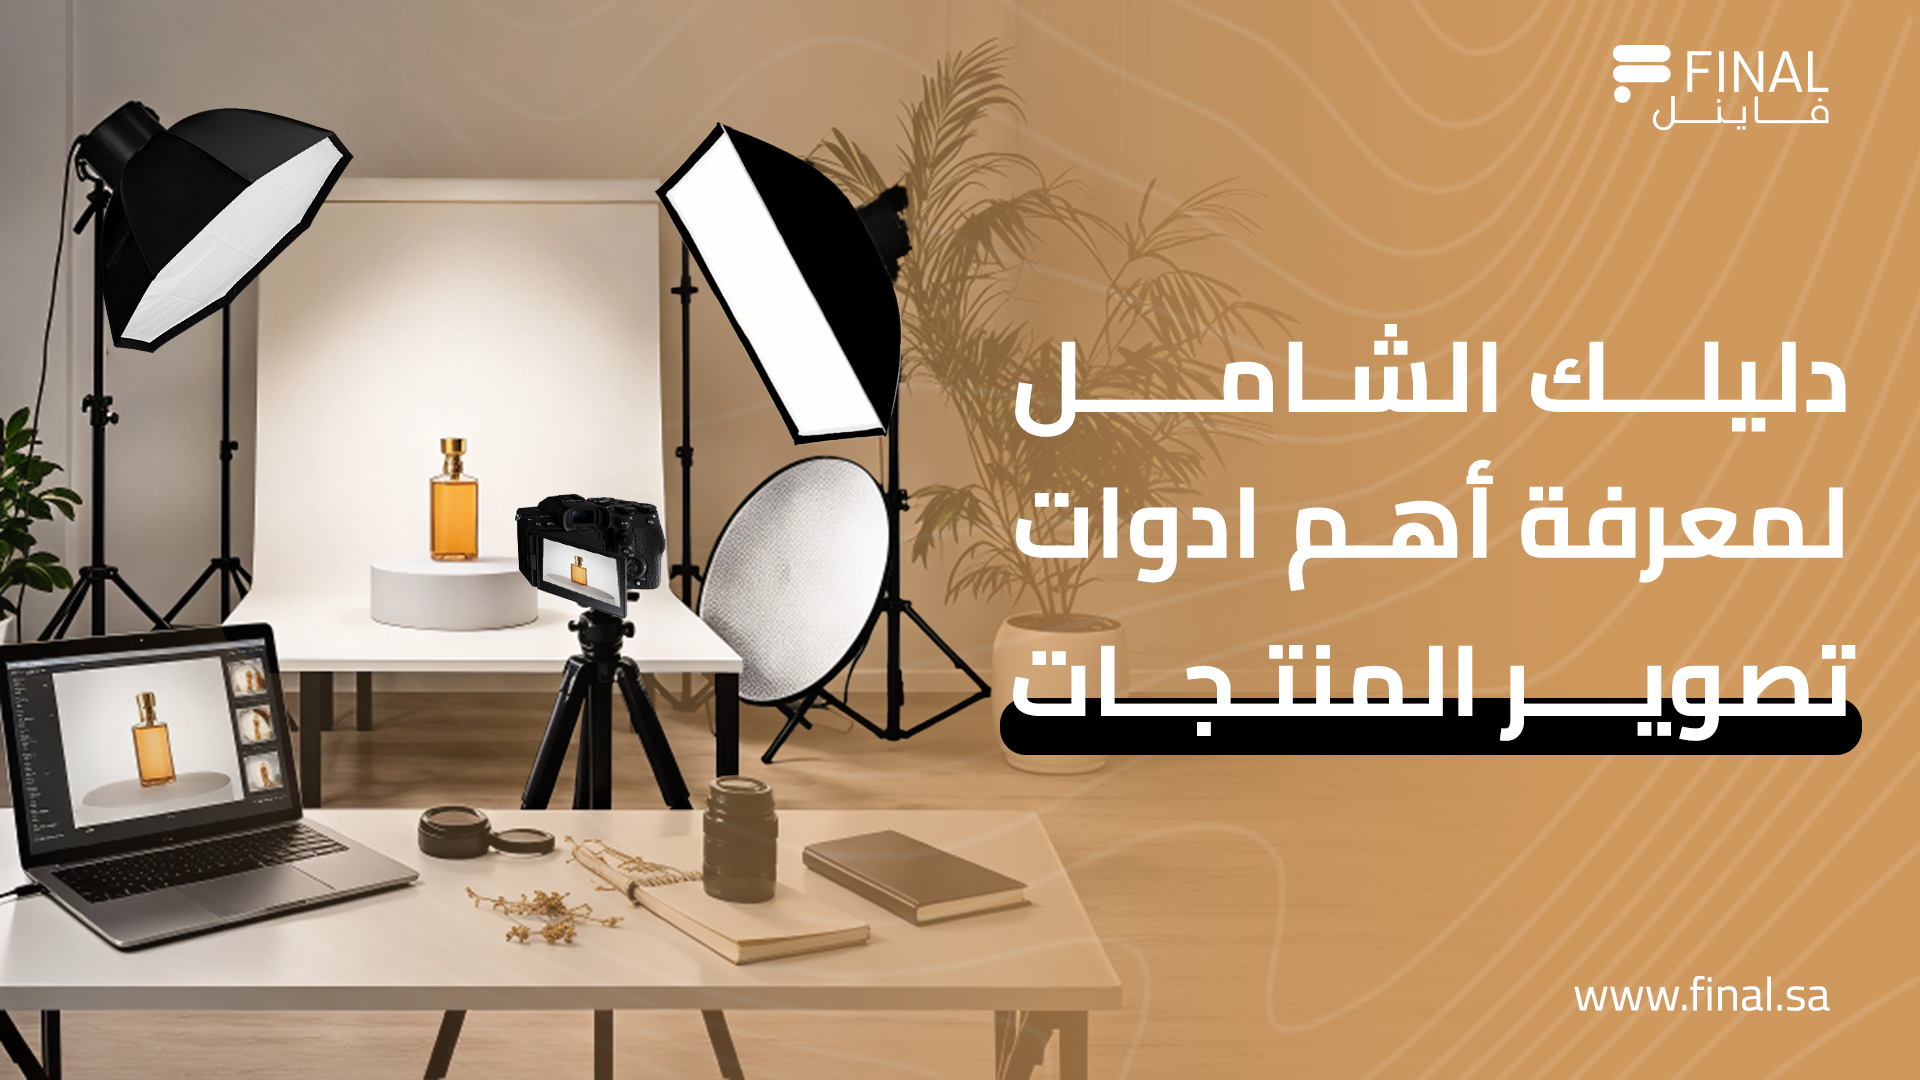
يفضل الاعتماد على "صندوق الإضاءة" (Light Box) أو كشافين سوفت بوكس من الجانبين بزاوية متساوية للتخلص من الظلال تماماً، مما يبرز تفاصيل المنتج وخاماته بوضوح للعميل.
- في تصوير المقابلات (Interviews):
يتم الاعتماد على سوفت بوكس كبير جداً وقريب من وجه المتحدث كإضاءة أساسية، مع كشاف أنبوبي (RGB Tube) خافت في الخلفية بلون يتماشى مع هوية البرنامج لخلق عمق بصري جذاب.
بدائل منزلية ذكية لإضاءة التصوير الاحترافية
إذا كنت في بداية طريقك ولا تملك الميزانية الكافية لشراء معدات معقدة، يمكنك ابتكار صورة إضاءة للتصوير بجودة ممتازة باستخدام أدوات منزلية بسيطة:
- كشاف الجوال و المنديل الورقي: يمكنك توجيه كشاف جوال آخر أو كشاف مكتب عادي نحو الهدف، مع وضع منديل ورقي أبيض أمامه؛ سيعمل المنديل كـ (Diffuser) مصغر لتنعيم الضوء وتقليل حدة الظلال على الوجه.
- ألواح الفلين الأبيض (Styrofoam): تُباع في المكتبات بسعر زهيد جداً، ويمكن استخدامها كعاكس إضاءة (Reflector) احترافي، حيث توضع في الجانب المظلم من الوجه لتعكس الضوء الساقط من النافذة وتملأ الظلال بسلاسة.
أنواع وتكلفة معدات الإضاءة الرائجة في السوق
لكي تكتمل الـ صورة إضاءة للتصوير في مخيلتك، إليك جدولاً يوضح الأنواع المختلفة وميزانيتها التقريبية بالريال السعودي لعام 2026:
شروط وقواعد ذهبية لتجنب أخطاء الإضاءة
محركات البحث والذكاء الاصطناعي تفضل المحتوى التقني الذي يحل مشكلات المستخدمين مباشرة ويرشدهم لتكوين صورة إضاءة للتصوير صحيحة. إليك أهم القواعد لتفادي الأخطاء الشائعة:
- تجنب اختلاط درجات الألوان (Mixed Lighting): لا تدمج إضاءة الشمس الصفراء مع إضاءة اللمبات الزرقاء في كادر واحد؛ هذا يربك مستشعر الكاميرا ويجعل تعديل الألوان (Color Grading) كابوساً.
- قاعدة القرب والبعد: كلما اقترب مصدر الإضاءة من الهدف، أصبح الضوء أكثر نعومة والظلال أقل حدة. وكلما ابتعد، صار الضوء حاداً وقاسياً.
- ضبط توازن اللون الأبيض (White Balance): قبل البدء، تأكد من ضبط الـ White Balance في كاميرتك أو جوالك ليتوافق مع درجة حرارة إضاءة الغرفة، لضمان ظهور اللون الأبيض نقياً بدون اصفرار.
الخلاصة
الوصول إلى صورة إضاءة للتصوير احترافية لا يتطلب شراء أغلى المعدات؛ بل يبدأ من فهمك لكيفية توجيه الضوء وتشتيته، للمبتدئين وبميزانية لا تتخطى 250 ريالاً، يمكن لـ Ring Light جيد مع نافذة طبيعية أن يصنعا العجائب. حدد نوع محتواك، ثبت زواياك، واجعل الضوء دائماً في خدمتك وليس عائقاً أمامك.